Movestax Docs home page
Search...
⌘K
Support
Dashboard
Dashboard
Search...
Navigation
Codestax
GitHub integration
Documentation
API Reference
Documentation
Community
Blog
Get Started
Introduction
Quickstart
Concepts
Projects
Applications
Databases
Hosted Workflows
Codestax
Introduction
Quickstart
Tips & tricks
SEO
GitHub integration
Database Integration
Limits and Tokens
Troubleshooting
Services
App Deployment
Serverless Databases
Hosted Workflows
Message Queues
Analytics Tools
Cache
Functions
Authentication
API Marketplace
AI
On this page
Build with Codestax by Movestax
1. Connecting to GitHub
2. Push to GitHub
3. Bring your own Repo
Codestax
GitHub integration
Start building with Codestax from 0 to 1 with a simple prompt.
Build with Codestax by Movestax
Welcome to Codestax! This guide will help you get started with your first project in just a few minutes. From a prompt to a fully production deployed website seamless.
1. Connecting to GitHub
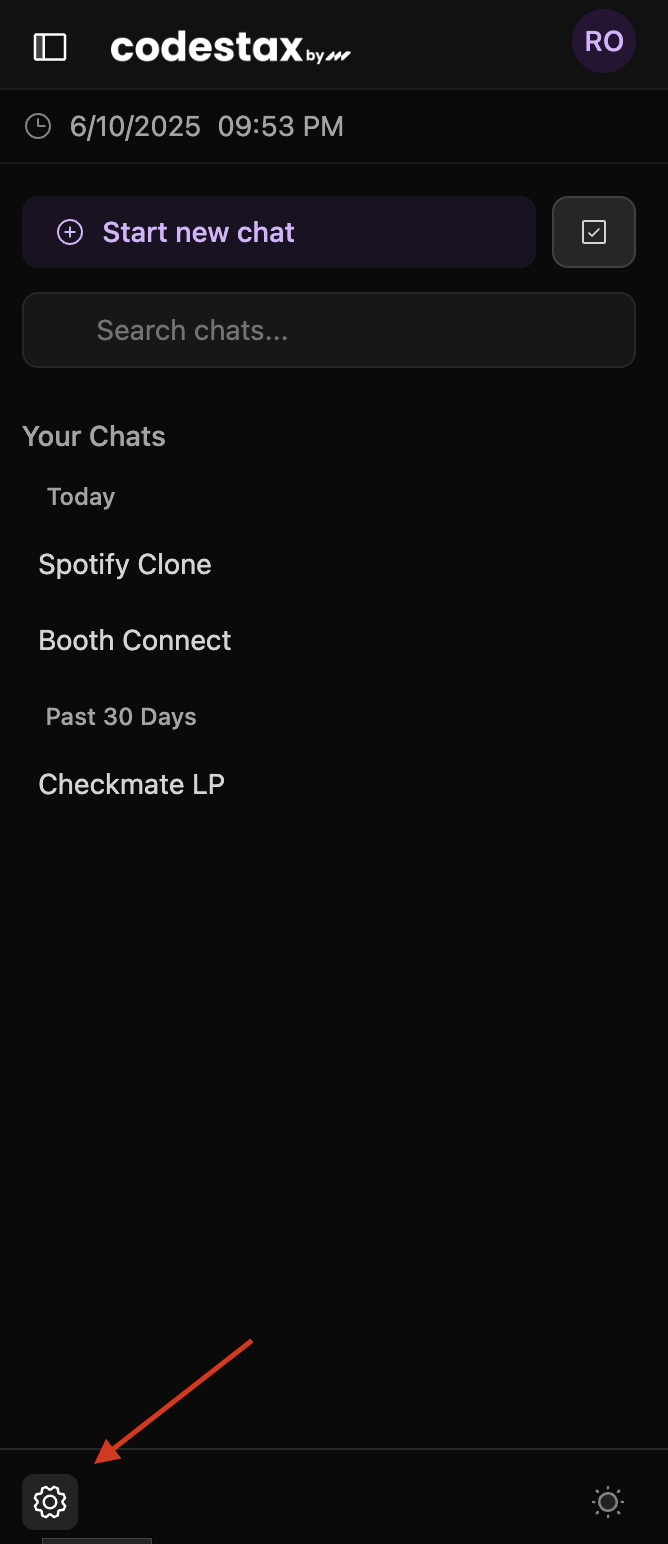
Click on the left menu under the historical chats.
Select the settings icon.
Navigate to Connection icon as shown on the picture.
Enter you GitHub PAT
To find out how to generate your GitHub PAT refer to:
GitHub Personal Access Tokens
2. Push to GitHub
Whenever you feel ready with you code push it to GitHub and Codestax takes care of creating a repo for you.
3. Bring your own Repo
If you’d like to bring your own repo, just click
Clone a Git Repo
at initial chat screen.
SEO
Database Integration
Assistant
Responses are generated using AI and may contain mistakes.